Applications (Android / iOS / Windows / Mac)

Softphones allow you to receive calls and to make outbound calls over the Internet from a computer or smart device. This piece of software acts as a phone interface, allowing you to dial numbers and carry out other phone related functions via a screen (such as a computer or smartphone) using your mouse, keypad or keyboard.
Softphone applications may be downloaded from a variety of providers, and are easily configured to become seamless and highly flexible components of your Telobal™ system.


Step 1
Telobal™ graphical interface Configuration to make a SIP account
First, enter the Telebal user panel, after selecting the project and going to the dashboard page, select the option to lunch PBX from the side menu. Enter the person section in the cloud PBX and by clicking the create person button, the person creation form will open for you. After completing the main information such as name, extension number, main contact number and email, by clicking on the create person button, a person will be created for you and you will be given the necessary information to use in the software.
Step 2
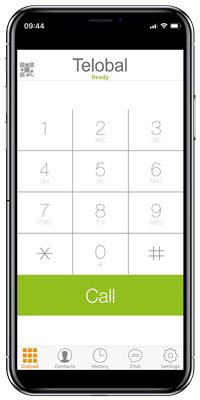
Softphone arrangement
A typical softphone application is Zoiper Once you have downloaded this application, configuration for use with Telobal™ is as follows:
GSwave all platform like same
Android Configuration is bellow:
After instalation go to config » Accounts
Click on "Add Account"
Account setup > Yes
Account setup > Manual configuration
Choose an account type > SIP
The first 4 field should be complete:
Account Name: Telobal
Host: voip.telobal.com
username: USERNAME (Username Created in STEP 1 in above in PBX)
password: PASSWORD (PASSWORD Created in STEP 1 in above in PBX)
Then click on "Save"
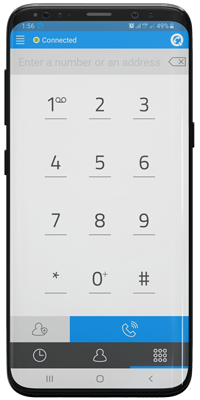
wait to connect to server and green tick!
Now you can receive and send Call!
Zoiper setup video guide